

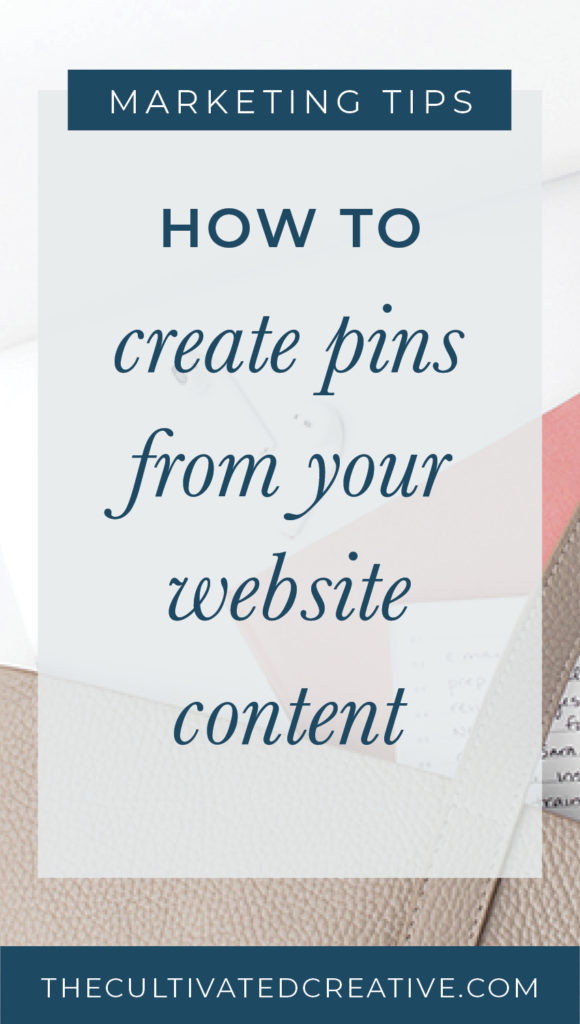
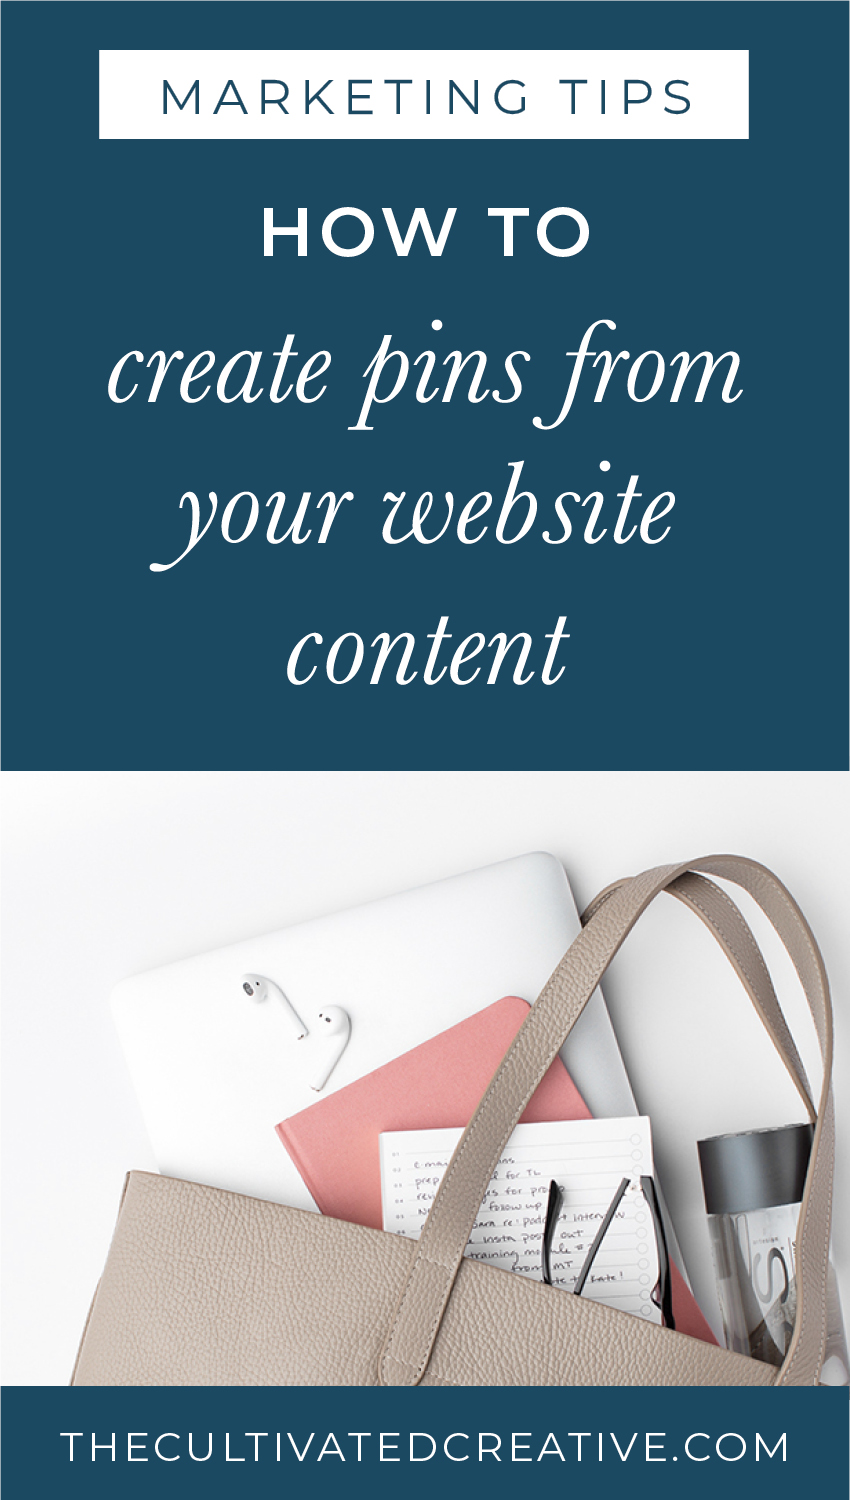
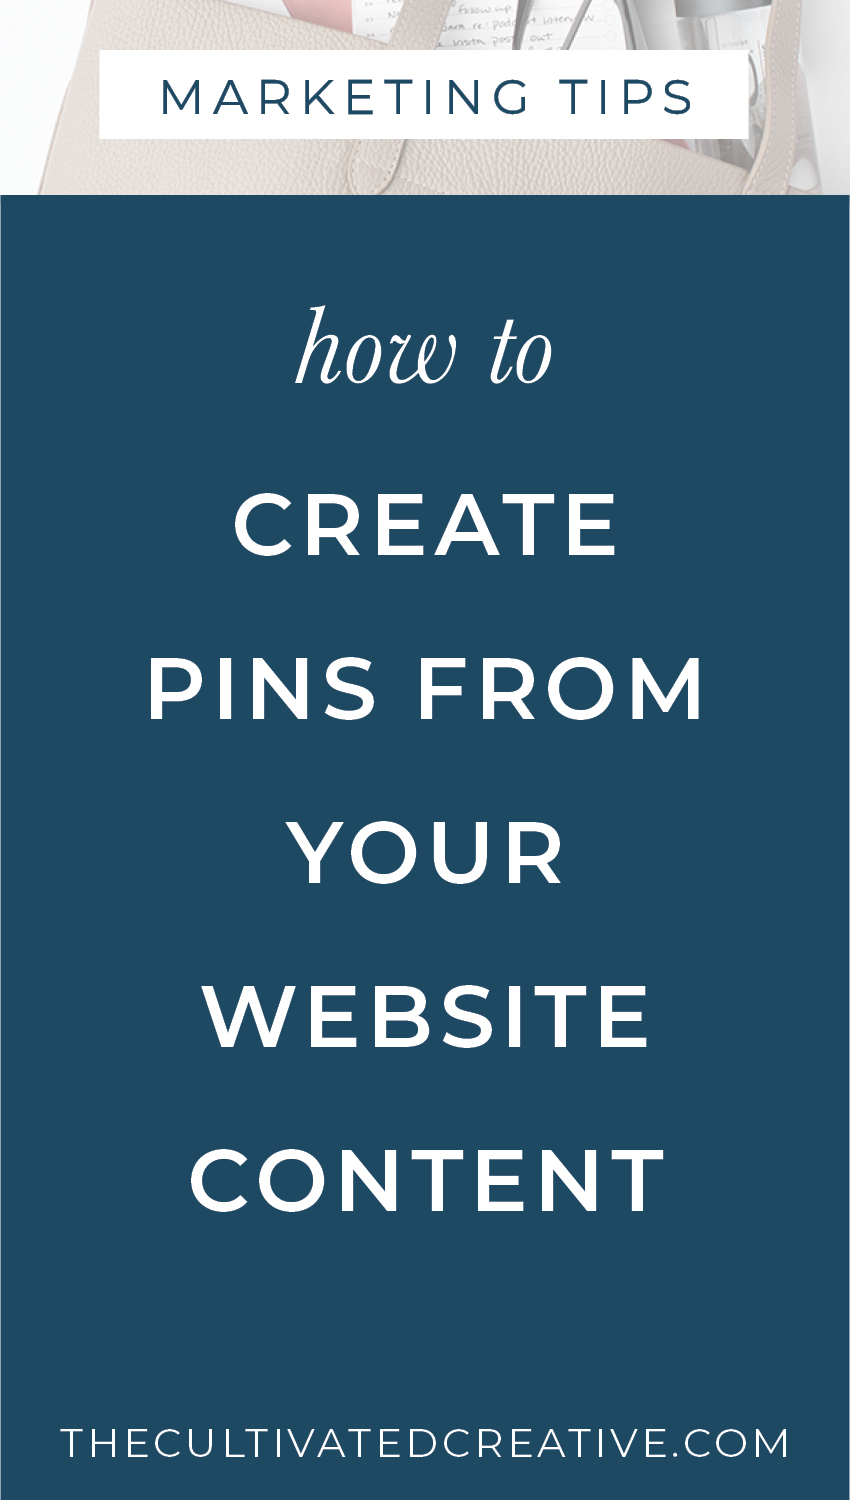
Where do the pins come from that I need to pin as a stationer
I want to cover how to create pin graphics that not only look amazing and rep your business but also convert (aka what good is a pin if no one clicks on it!).
I’ve always heard the rule of thumb when it comes to pinning is that you should pin 20-30% of your OWN content and surprisingly 70-80% of OTHER content. I know this is surprising, but there is no way you can pin 100% of your own content unless you’re just a content-producing machine!
However, keep in mind that the other content that you’re pinning is complimentary content that goes well with your content. You’re not pinning other stationery or similar businesses, but maybe you’re pinning wedding styles or colors or themes, things that would flow well with what you’re trying to promote and keep a viewer on your page longer or weave them into your own pins.
Curious about how to organize your boards, check out my blog post here!
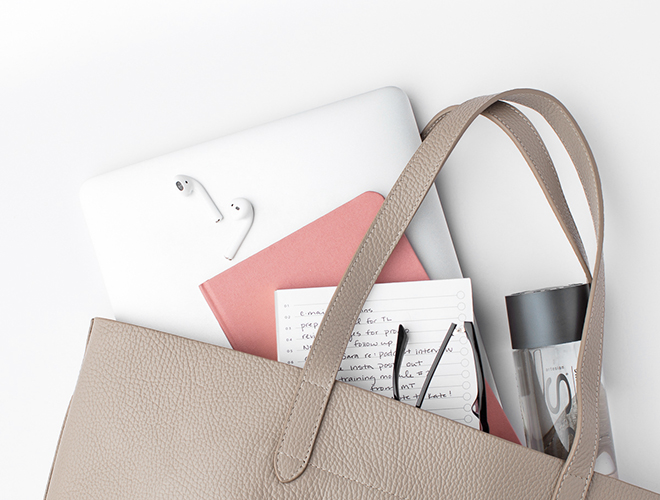
So when you do need to get your own pins going for that 20-30%, where are they coming from? Well — they need to come from your website, that way they are linking the viewer back to your website and in turn, driving traffic your way! The pins can come from your portfolio or other areas of your website, but the #1 spot should be your blog. This is where the bulk of your pins and content can reside. For any ONE blog post, you should have at least THREE pins that point back to that blog post. These pins can vary on their graphics so they don’t look like three identical pins, but they are all pointing back to the same blog post/URL.
Some tips to keep in mind about creating a pin that converts:
- Pins need to utilize colors, fonts and imagery that represents your brand so when someone sees it they connect it with your brand
- Pin sizes need to maintain a 2:3 ratio, ideally 600px x 900px
- Fonts need to be large and readable for quick and easy scanning
- *BONUS* Make sure that wherever your pin is leading them has a CTA (call to action) don’t send them to a dead end page. It could be something as simple as an “inquire now” or “join my list” or “follow me on instagram”
Creating templates for quick and easy use:
- I recommend 3-4 styles of templates that you rotate (don’t reinvent the wheel!)
- Programs to use: Adobe Suite (Illustrator/InDesign/Photoshop) or Canva (free and already has Pinterest sample templates you can use!)
- Items to be sure to include: title with keywords + website/business name (logo or submark if room)
A few considerations to keep in mind:
Image only pins = more likely to just be saved for inspiration and come back to later
Image/text and/or text only pins = more likely to be clicked for the viewer to see more on the subject of the content.
Types of pin templates:
1 – graphic heavy with large title (great for portfolios/wedding features, etc)
2 – text heavy title + short description (great for detailed blog posts)
3 – image only (usually perfect for detailed invitation pictures)


PLEASE COMMENT BELOW
share this post on